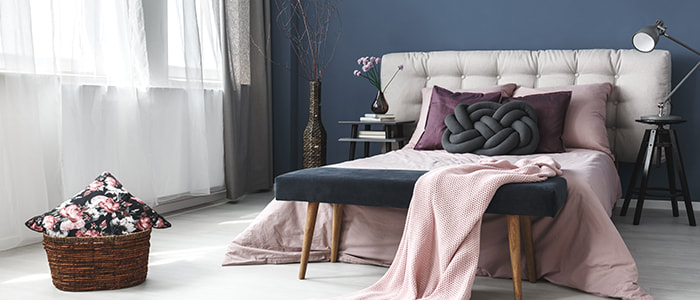
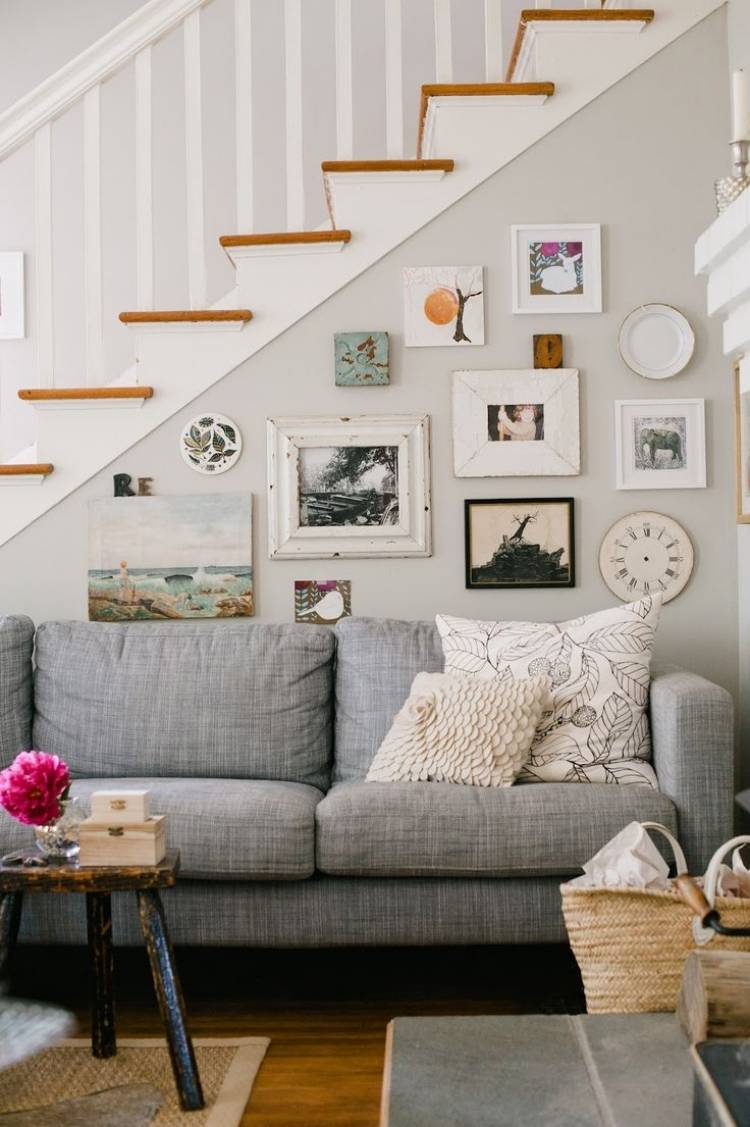
Are you tired of decorating your home, but don't have money available or don't want to spend a lot to renovate your home? Do not worry. With a little creativity, layout and basic materials, it is possible to create - that's right, create! - some decoration items and make your home look new.
Continue reading this post and check out how to build 4 do -it-yourself objects (also called do it yourself or DIY). Come on?
1) Glass bottle lamp
The materials
• Bottle with wide base
• Wiring for lamp with switch
• Stopper
• Saw
• 2.5 cm nipple
• Nipple nut
• Socket
• Terminal block
• Stiletto
• Screwdriver
• Dome lamp
• Fabric
• White glue
• Roll
• Fabric glue
• Scissors
• hot glue
The step by step
Choose a bottle with a wide base to support and balance the weight of the dome. Take the bottle to a glazier and ask him to make a 2.5 to 3 millimeter hole. Pass the wire through the hole and pull the end out of the bottle until the switch is very close to the base. Tie a knot.
Open the end of the string in half with the stylus. Remove the plastic from that part and leave the copper wire exposed. Cut the cork using a saw until it is 1.5 cm long. Then, drill a hole with the diameter of the nipple.
Fit the nipple into the hole and secure it with the nut. Fit the stopper with the nipple and nut into the socket and turn it until it clicks. Pass the wire through the nipple until it runs through the entire socket. Leave the stripped ends of the wire out.
Unscrew the terminal bushing screws and twist the ends of the copper wire so that they form a roll. Place each end in the region of the part where the screws are located. When the wires are properly seated, tighten the screws to ensure good contact.
Inside the terminal block, there is a screw that is fixed inside the socket. After attaching the wires, press the part towards the inside of the socket. Finally, fit and tighten the screw.
If the base of the bottle is large, choose a dome between 20 and 23 centimeters. Measure the diameter and height of the dome to see how much fabric will be needed. Cut the fabric leaving 2 centimeters of top, bottom and side margin for finishing. Use the roller to apply white glue to the dome and lay the fabric, always respecting the upper and lower margins. Smooth the fabric and dome to remove wrinkles and air bubbles from the fabric.
After gluing the fabric all around the dome, fold 1 cm of the cloth to finish and finish with fabric glue. Using scissors, make 3 peaks at the ends of the dome frame. Stretch the fabric and fold the top and bottom edges into the dome. Apply hot glue and cover the metal structure of the dome. Cut off the excess fabric with the stylus. The glass bottle lamp is ready!
2) Lamp with string
The materials
• Bladder (those birthday party balloon inflatables).
• Liquid white glue
• String
• Wiring and lamp cable assembly
• Newspaper
• Brush
• Rubber gloves - if necessary
• Cleaning Cloth
• Scotch tape
Step by step
In an airy environment, line the place with newspaper and reserve the white glue in a pot with a brush. Fill the balloon until it is the size you want for the dome of your lamp and tie a not too tight knot so that you can loosen it later. With tape, attach the string to the base of the knot.
With the help of a brush, or even with your hands, pass layers of white glue around the balloon and fix the string around it, forming random lines. It is important that the string is very moist with the glue and that there is adherence between the line and the balloon, so that the string is fixed as the glue dries around the bladder.
At this stage, it is important to draw complete loops with the string line, but remember to leave a wider space between the empty lines, which is where the lamp will pass to the luminaire. Allow to dry for 24 hours. Make a tear in the balloon and carefully remove it from the glue structure with string.
Pass the wiring part with the lamp inside the most spacious opening between the lines of the string. Ready! Now just hang your lamp!
3) Kitchen utensil holder
The materials
• Metal or wood bar with support
• Screws
• Drilling machine
• Metal hooks or rings with zipper
The step by step
Measure the support at a time when the utensils are easily accessible for your kitchen activities. Avoid locations too close to the sink, due to humidity, and prefer areas close to the counter or stove.
To install the bracket, drill two holes in the wall with a drill and tighten the screws. Hang the earnings on the utensil holder and handles. You can use rings with openings, hooks in the shape of an "S" and even small twisted wires in the shape of a hook - which are a sustainable alternative and give a charm to the decoration. And voilà! Your support is ready!
4) A wooden crate bookcase
The materials
• Wooden crate
• Sand
• Rasp
• Cloth
• Brush
• Acrylic paint or water-based varnish
• Screw
• Philips key
• Hooks
• Drilling machine
• Bushings
• L-Bolts
Step by step
Sand the crate. With the aid of the rasp, remove the larger fluff and sand well between the slats, especially if there is mold. When finished, use a cloth to remove dust.
Give a coat of acrylic paint or water-based varnish inside the crate and then on the outside. Wait about 4 hours and apply the second coat.
Using the screw and the philips wrench , drill holes to screw the hooks. Add as much as you want.
To install the shelf, drill two holes in the wall with a drill, insert the dowels and tighten the L screws. Fit the screw to the slats of the crate. The wooden crate shelf is ready!
5) Wall sticker
The materials
• PVC or vinyl sticker or stationery labels
• Cardboard or cardboard
• Pen
• Scissors
• Cloth
• Water
The step by step
With a pen, draw the motifs that will be the theme of the decoration on cardboard or cardstock. You can use freehand drawings such as cloud, heart, drops, triangles and circles, let your imagination run wild. Another option is to print the designs, cut them out and transfer them to the back of the sticker. With a pair of scissors, cut out the number of drawings you want to use for the chosen wall decoration.
In addition to PVC or vinyl adhesive roll, you can also use stationery labels in different formats. There are labels in different colors, metallic and polka dot and star shapes that create an air of refinement in rooms such as children's rooms or offices.
With a damp cloth, remove any dirt or dust from the surface that will receive the stickers. With the pen mark the places that will receive the stickers so that you can assemble a harmonious composition.
Now paste the drawings and enjoy the new renovated corner of the house! This tip is very easy, does not require much practice and you can redo it whenever you want to redesign the look with different reasons.

 RSS Feed
